
How to Create Apps Using Google AI Studio: A Step-by-Step Tutorial
Learn how to create AI-powered apps step by step using Google AI Studio. Build chatbots, image generators, and intelligent tools with Gemini AI — no complex setup needed.
If you’ve ever wanted to build your own AI-powered web app without heavy coding, Google AI Studio is the perfect place to start. It’s a free tool by Google that lets developers and creators build chatbots, image generators, and intelligent assistants powered by Gemini AI models — all inside an easy-to-use interface.
In this tutorial, we’ll walk you through how to create your first AI app using Google AI Studio, from setup to deployment.
Step 1: Sign In to Google AI Studio
Start by visiting aistudio.google.com/apps.
You’ll need a Google account to access the Google AI Studio Apps Dashboard. Once signed in, you’ll see a workspace where you can build, test, and manage your AI applications in one place.
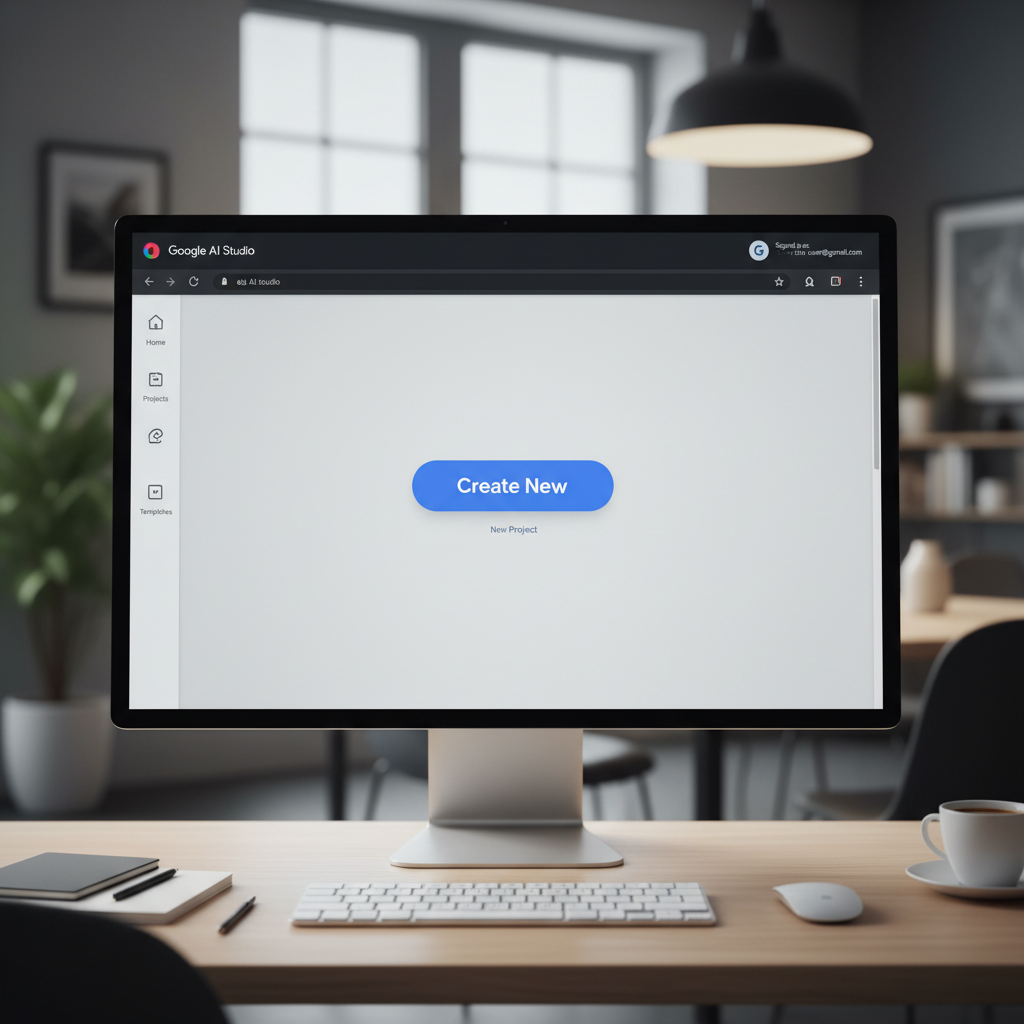
Step 2: Create a New App
Click “Create App” to begin.
You’ll be asked to:
- Choose your app type (chat, image generation, translation, etc.)
- Name your app
- Select the Gemini model you want to use (for example, Gemini 1.5 Pro or Gemini Flash)
This flexibility allows you to customize your AI’s purpose from the very start.
Step 3: Set Up Prompts and Behavior
Inside the editor, you can define:
- System instructions (the AI’s personality or role)
- Example user queries to guide its tone and context
- Prompt templates like
$user_inputto dynamically handle requests
For example:
🧩 System Prompt: “You are an expert AI assistant that helps users understand JavaScript code.”
💡 User Prompt: “Explain this code snippet and suggest improvements.”
This setup makes Google AI Studio incredibly flexible for building personalized apps.
Step 4: Test Your AI App
Use the built-in Preview Mode to interact with your app in real time. Try out different prompts, adjust parameters, and refine your system message until the responses feel right.
If you’re building an image generation app, you can enter prompts like:
“Generate a futuristic city skyline at night in cinematic lighting.”
You’ll instantly see the output, so iteration is fast and intuitive.
Step 5: Export or Integrate Your App
Once your app works well, Google AI Studio lets you:
- Export the API endpoint
- Copy the sample code to integrate it into your own website or project
- Embed the app into other platforms
For developers, this means you can connect your app to a front-end framework (like React, Vue, or Next.js) or even a no-code tool such as Make or Bubble.
Step 6: Deploy Your App
You can deploy your app’s interface on:
- Vercel, Netlify, or GitHub Pages for frontend hosting
- Google Cloud Functions or Firebase for backend logic
Once live, your Google AI Studio app can serve real users and showcase the power of AI without managing complex infrastructure.
Step 7: Monitor & Improve
AI Studio provides tools to monitor app performance and refine prompt quality. Keep testing, tweak your AI’s tone, and add new capabilities as you learn from user interactions.
Example Use Cases
Here are a few ideas of what you can build with Google AI Studio:
- AI code review assistant
- Image generation or style transfer tool
- Multilingual chatbot for customer support
- Data summarization or research assistant
Conclusion
Building with Google AI Studio makes creating AI-powered apps easier than ever. Whether you’re an experienced developer or just getting started, this platform gives you the power of Gemini AI in a simple, visual interface — no complex setup required.
Start today at aistudio.google.com/apps and bring your AI idea to life in minutes.
Leave a Reply